Tutorials › 5
An indexed rotary job
With a 4th axis, the blank turns to a fixed angle, the router cuts the face on top, and the blank turns to the next angle. This tutorial cuts eight flutes and four pin holes in a round maple column.
Indexed (3+1) only. Profile, pocket and drill toolpaths repeat at a list of angles. Wrapped (continuous) toolpaths and rotary V-carve or 3D aren't supported yet, and only an A axis along X is. Rotary support is the newest part of NativeCAM, so air-cut rotary programs with particular care.
-
Turn on the rotary axis
Select Material & Machine and scroll to Rotary Axis (it's also in the setup step of Set Up a Machine…). Turn on Rotary axis; NativeCAM drives an A axis along X.
Measure the Centre height, the chuck centre above the spoilboard, so the job can be checked against your Z travel. To check Reversed, jog A positive: the top of the blank should roll toward −Y.
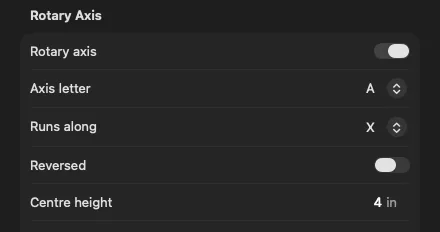
The rotary axis, with a measured centre height. -
Describe the blank
In the Material section, turn on Rotary blank, choose Round or Square bar, and enter the diameter (or the size across the faces) and the length.
The design sheet becomes one face of the blank: as wide as the blank is long and as high as its diameter, with the axis under its middle and the thickness down to the axis. Width, height and thickness follow the blank, and safe Z rises to clear a square bar's corners as it turns.
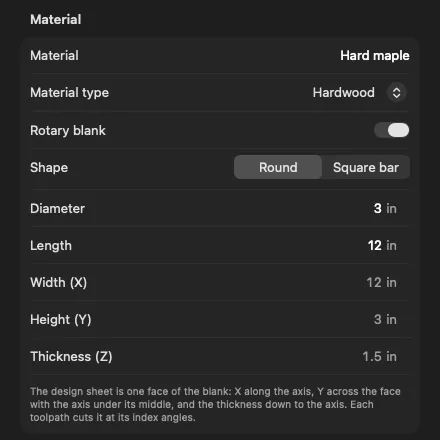
A 3 × 12 inch round maple blank. -
Zero on the axis
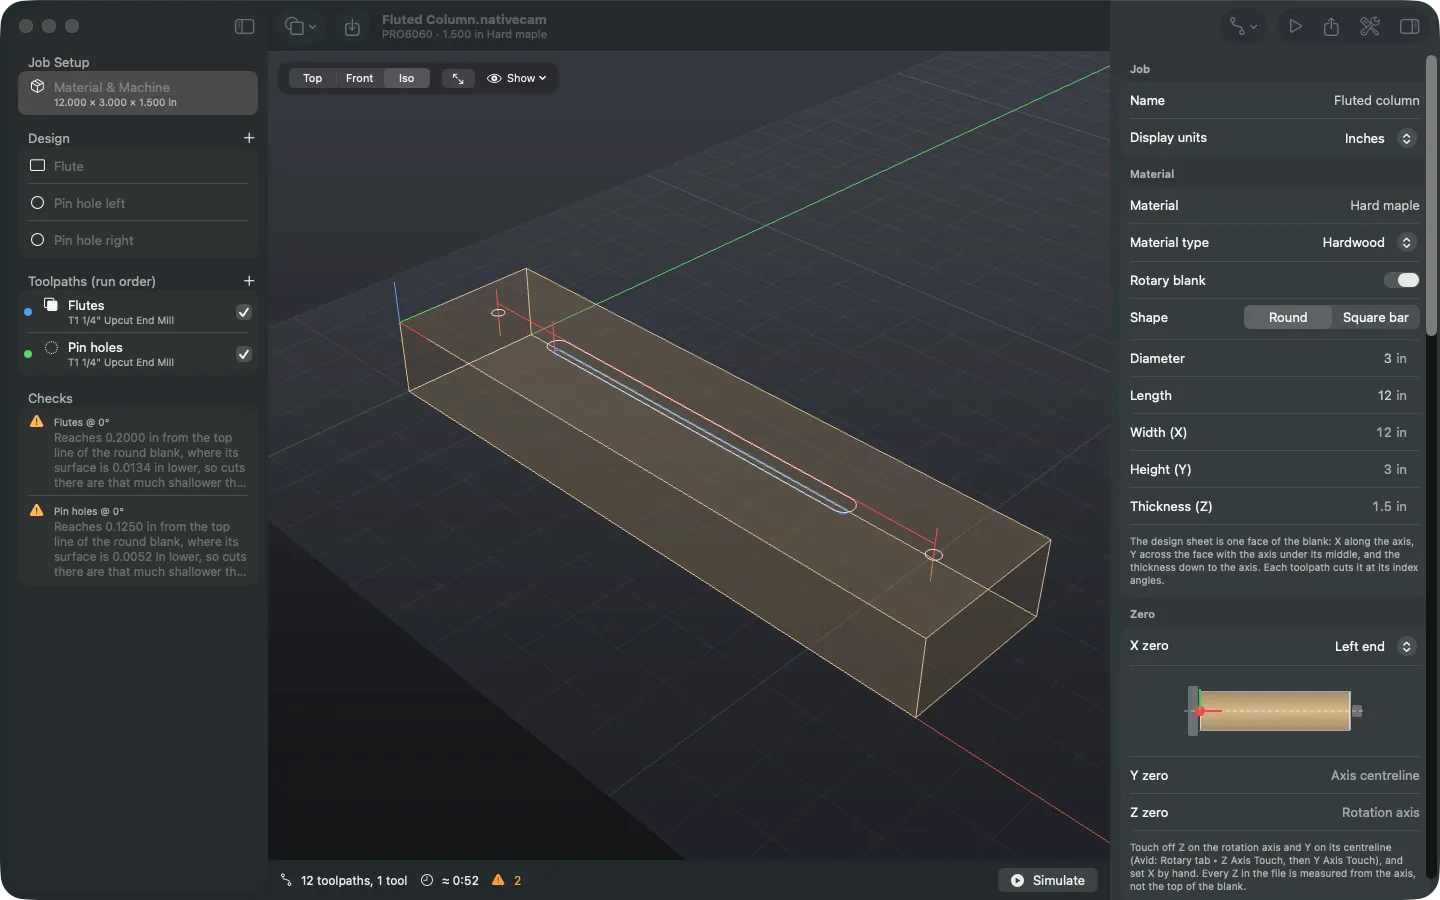
Z zero is on the rotation axis and Y zero on its centreline (on Avid, Rotary tab ▸ Z Axis Touch and Y Axis Touch). Choose X zero at the left end, the middle or the right end of the blank. On a square bar, A zero must put a face square to the spindle. Rotary jobs park over the middle of the blank.
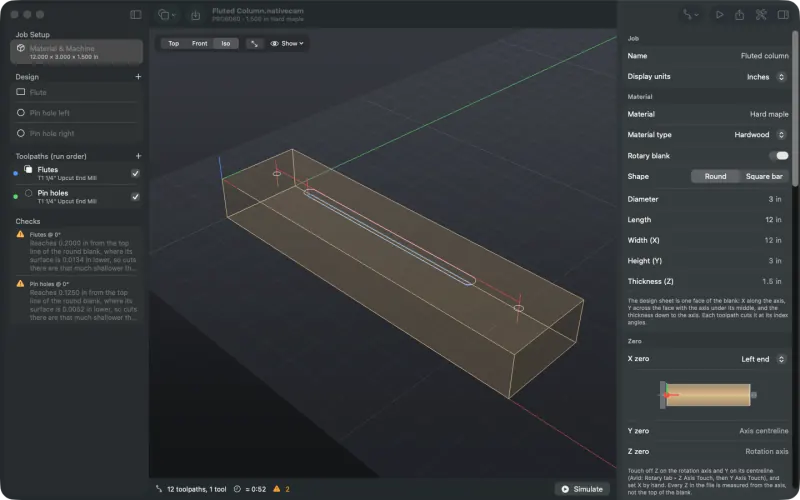
The design sheet is one face of the blank; the diagram shows X zero at the left end. -
Draw on the face
Draw the shapes as if the face were flat. Here a 7 × 0.4 inch rounded slot runs along the middle for a flute, with a ¼ inch hole near each end.
-
Set the index angles
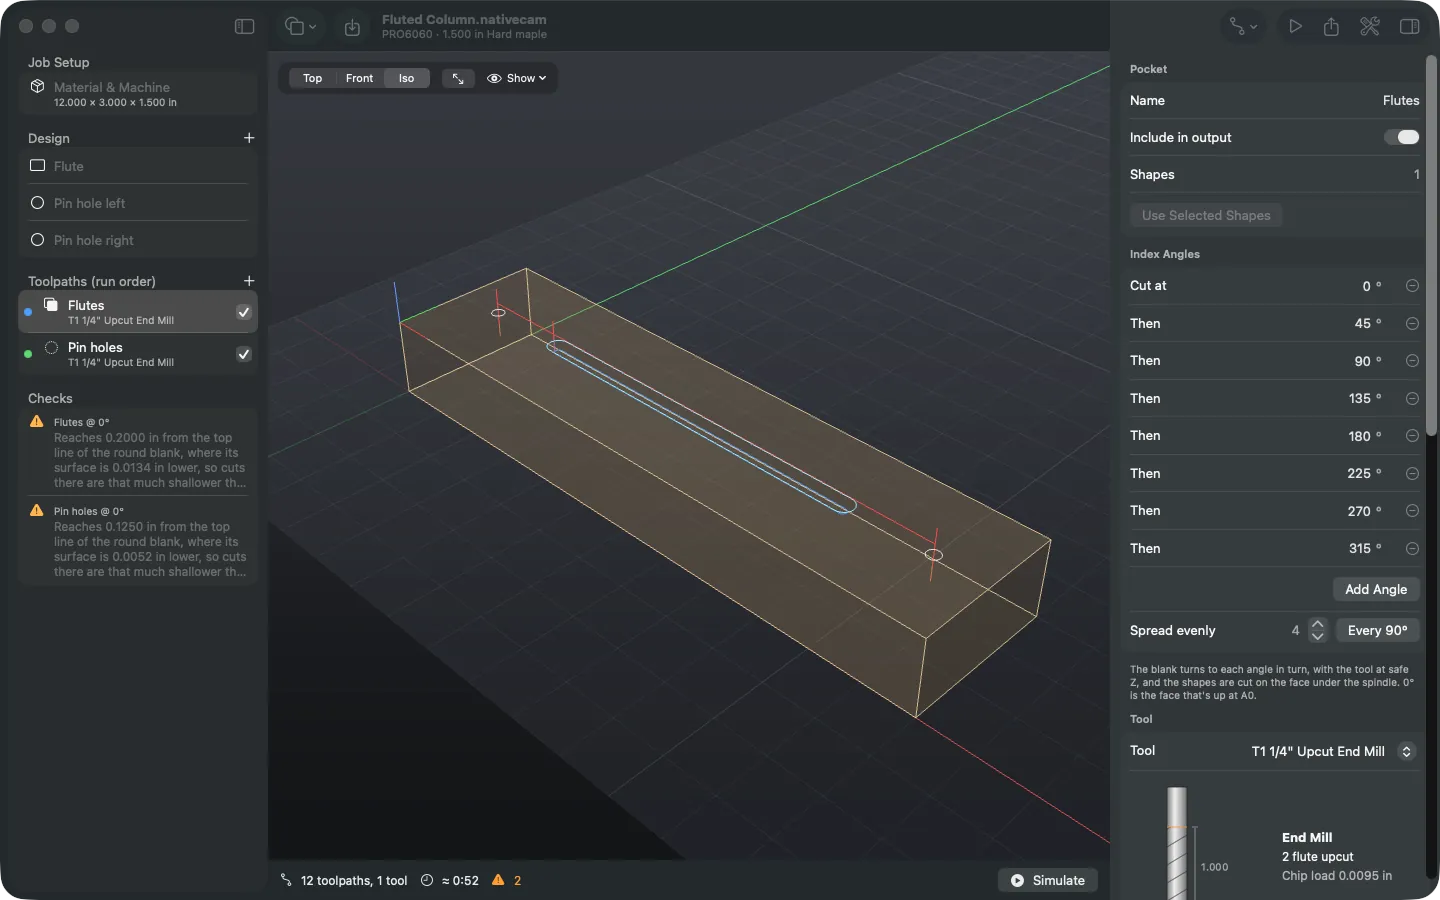
Add a Pocket for the flute and a Drill for the holes as usual. Each has an Index Angles section listing the angles the blank turns to, in cutting order, and cuts the same shapes at each. Spread evenly fills in n faces 360°/n apart; use Add Angle for anything else.
The flutes use eight angles, every 45°; the pin holes use four, every 90°. A square bar only takes quarter turns. The blank always turns with the tool at safe Z.
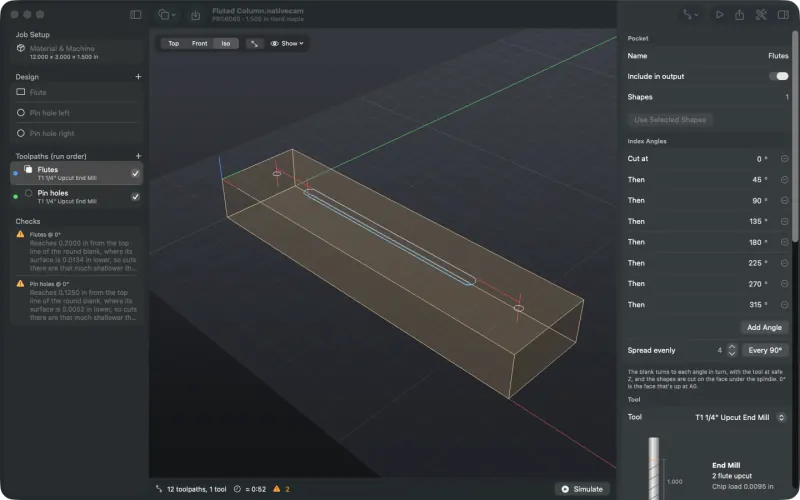
Eight index angles for the flutes. -
Read the checks
Checks lists anything the job can't cut. On a round blank you'll also see warnings like "Reaches 0.2000 in from the top line of the round blank, where its surface is 0.0134 in lower": the face is flat but the blank is round, so cuts away from the top line are a little shallower than set. Make the cut deeper or the shape narrower if that matters.
-
Simulate on the turning blank
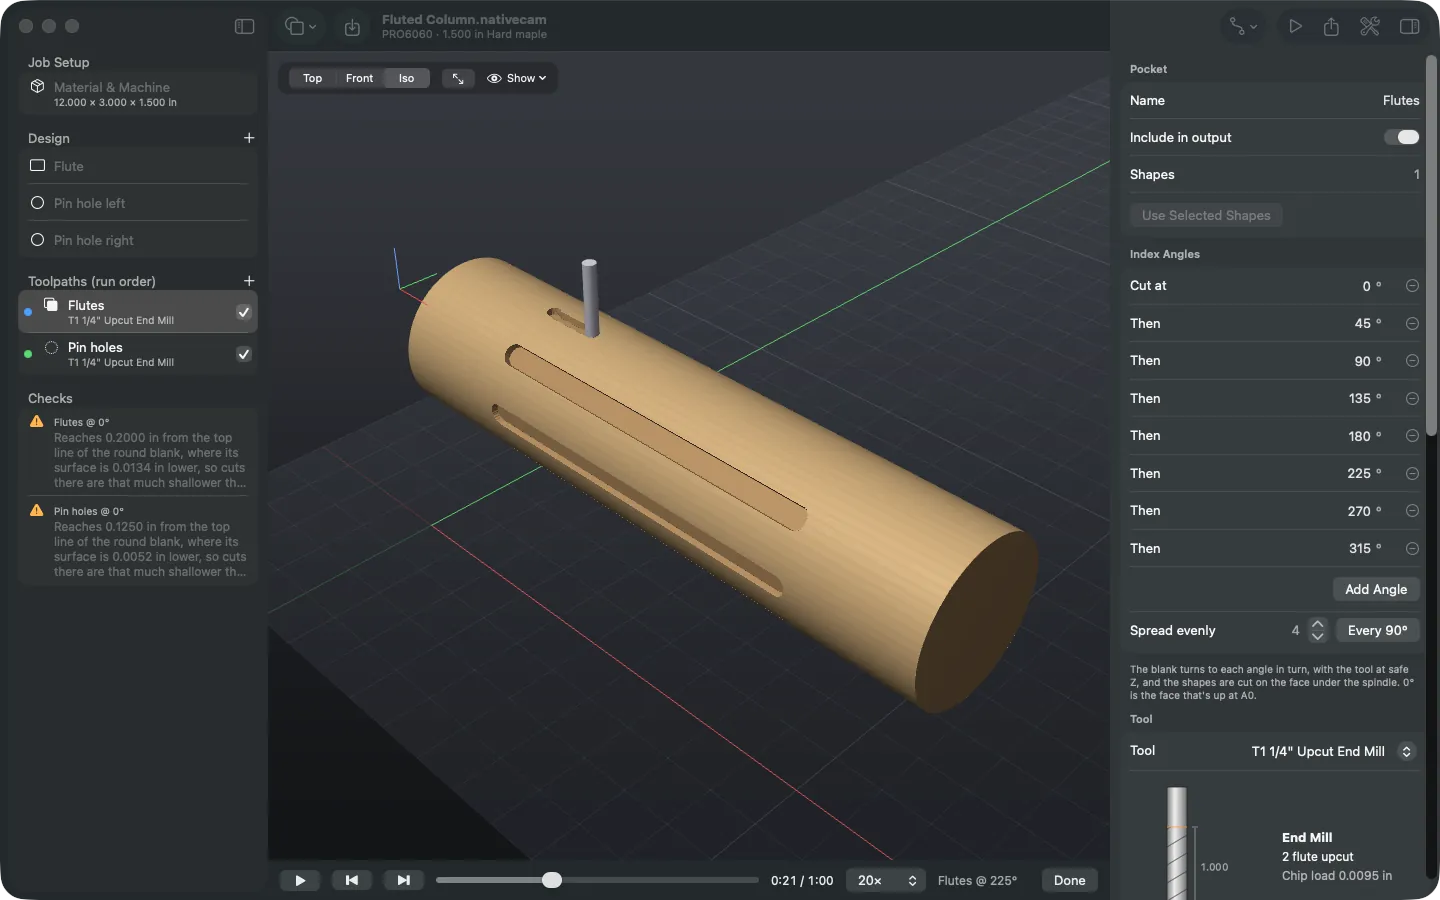
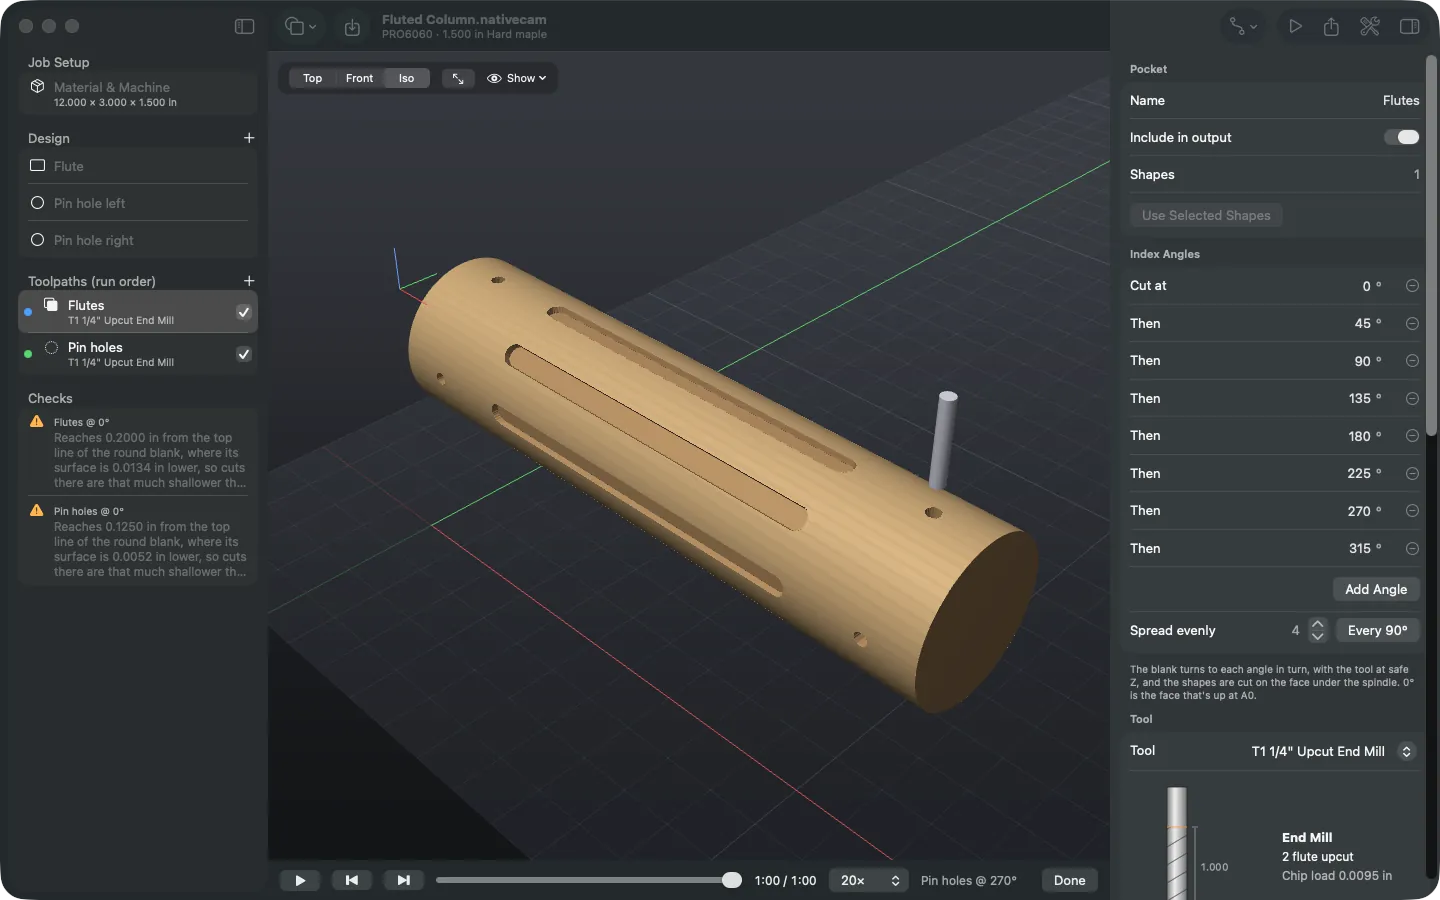
Press ⌘R. The job is carved on the blank itself: it turns to each angle with the tool at safe Z, as the machine will, and slows down for each turn so you can follow it.
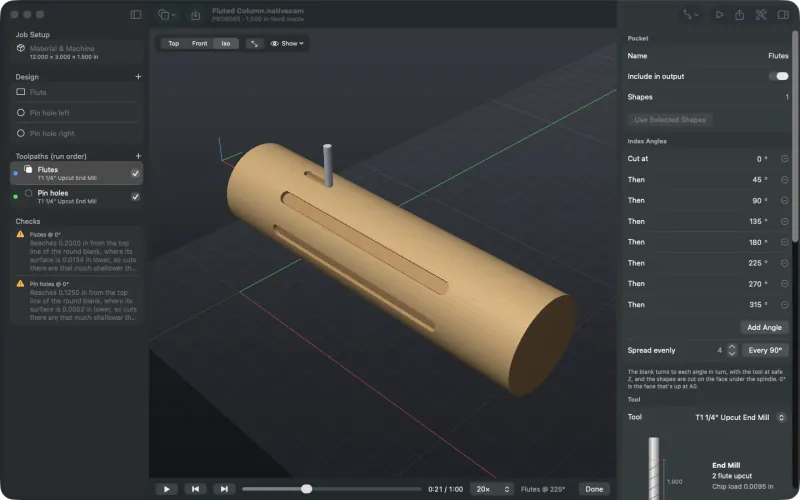
Part way through the flutes. 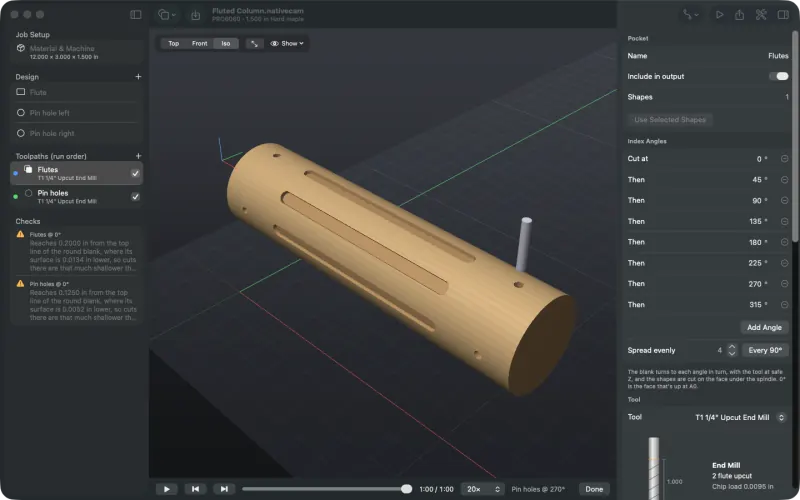
All eight flutes and the pin holes. -
Export
Press ⌘E. The posts turn the blank with
G00 Aat safe Z for Avid Mach4, LinuxCNC, grblHAL, Centroid and Buildbotics; the export check reports an A move for a controller without a rotary axis. Each angle is its own toolpath in the file:(Toolpath: Flutes @ 45deg Tool: T1 1/4in Upcut End Mill) G00 Z2.0000 G00 X2.6338 Y-0.0347 G00 A45.000 G00 Z1.6000 G01 Z1.3750 F50.0 G03 X2.7038 Y-0.0750 I0.0669 J0.0353 F342.0 G01 X9.2962Every Z in the file is measured from the rotation axis, not the top of the blank. Rotary projects are saved as format 3, so older builds refuse to open them rather than cut them flat.