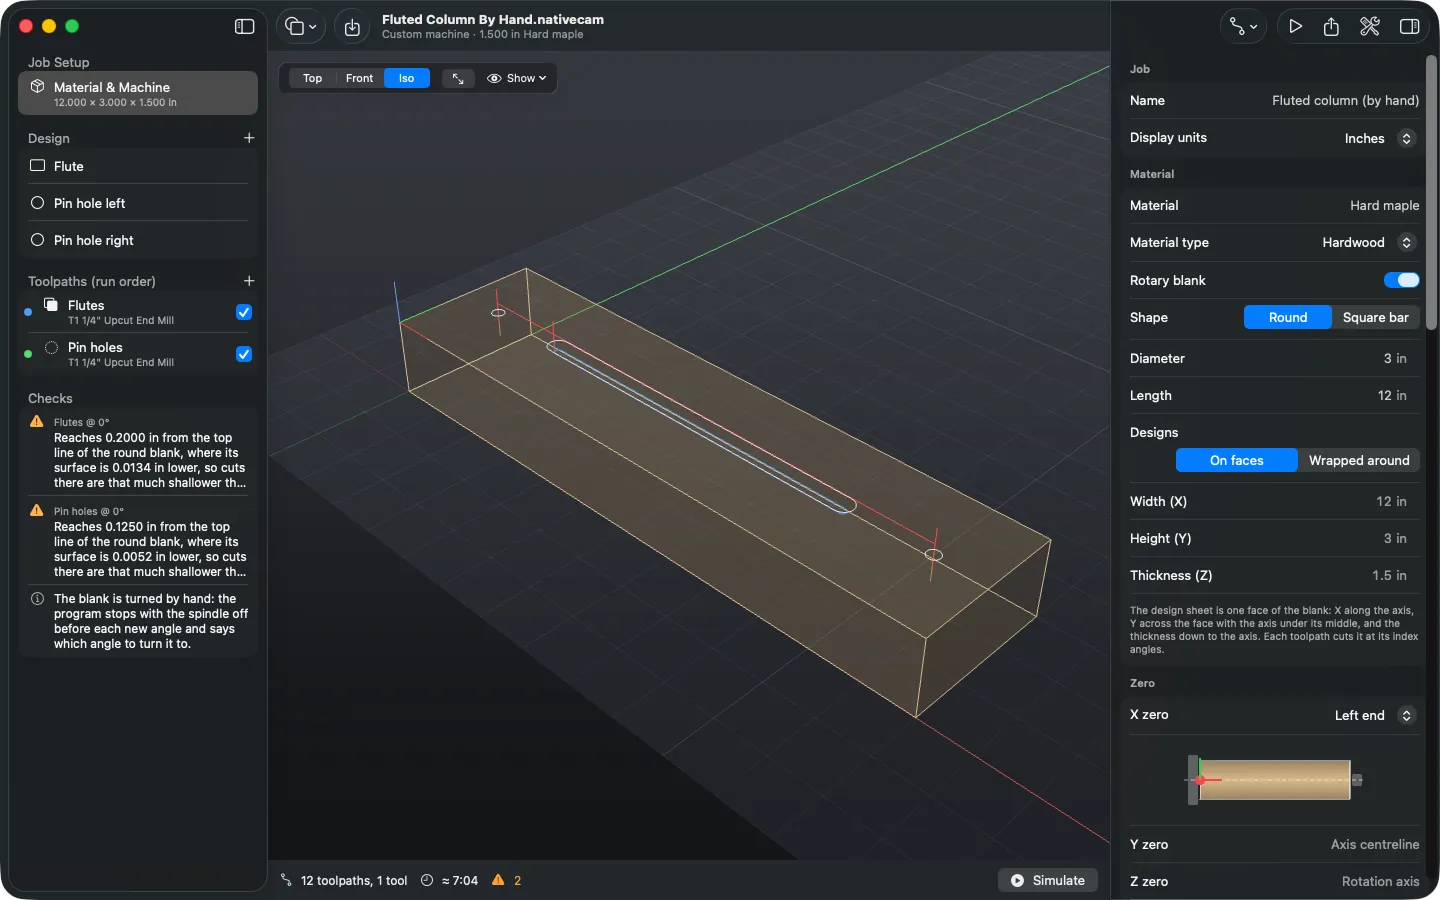
Tutorials › 6
Turn the blank by hand
No driven rotary axis? NativeCAM can still cut indexed jobs. Before each new angle the program lifts the tool, stops the spindle and pauses, and a comment tells you which angle to turn the blank to.
Early software. Rotary output hasn't been verified on a machine yet. Only Avid Mach4 output has run on a real router, and Carbide Motion's output follows its documentation. Air-cut the job, and stay at the machine: every pause needs you.
-
When to turn by hand
Grbl, FluidNC, Carbide Motion and Masso have no A axis in NativeCAM, and some indexers are turned with a crank or a pin. All of them can cut jobs on faces (indexed) with Turn by hand. Wrapped designs and rounding turn the blank while cutting, so they need a driven axis on Avid Mach4, LinuxCNC or grblHAL. ShopBot and RichAuto files can't turn the blank at all.
-
Turn on Turn by hand
Select Material & Machine and scroll to Rotary Axis (it's also in the setup step of Set Up a Machine…). Turn on Rotary axis and Turn by hand, and enter the Centre height of your indexer above the spoilboard.
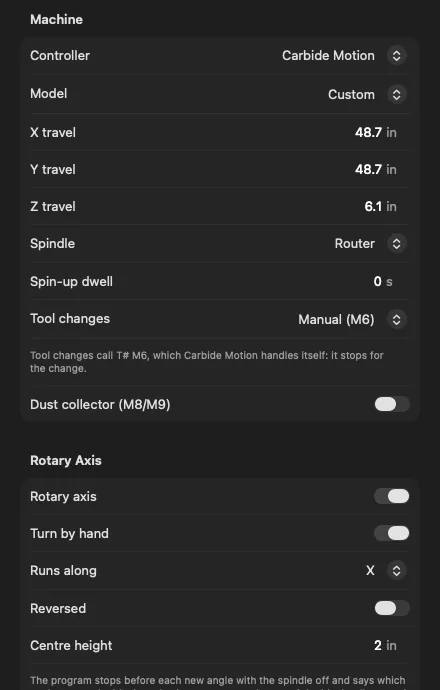
A Carbide Motion machine with a hand-turned indexer 2 inches above the spoilboard. Angles count up as the top of the blank rolls toward −Y. If your indexer's markings count the other way, turn on Reversed and each pause asks for your indexer's reading instead.
Hobby machines have little Z travel, so Checks compares the centre height, the blank's radius, the safe height and the tool's stick-out with it. With the indexer entered at 3 inches, Checks warned that this 3 inch blank might not fit under the machine's 6.1 inches of Z travel; at 2 inches the warning goes away.
-
Set up the job on faces
Describe the blank, zero and index angles exactly as in the indexed rotary tutorial: a round blank with Designs: On faces, Z zero on the rotation axis, and the angles each toolpath cuts at. Checks confirms that the blank is turned by hand.
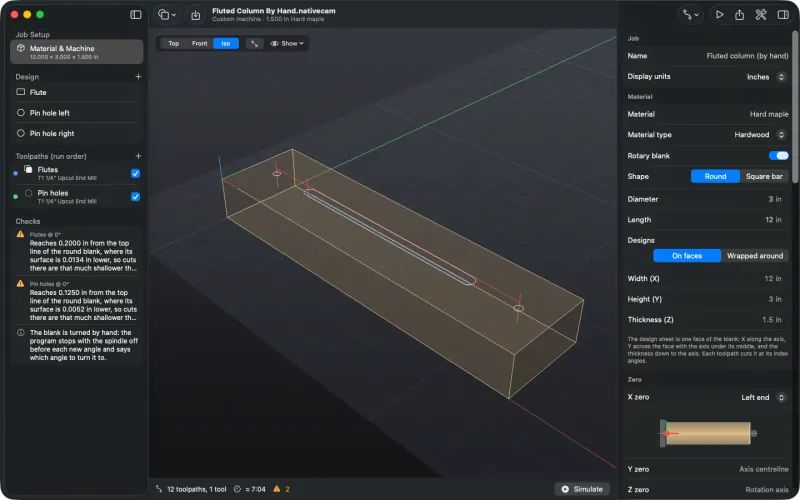
The note at the bottom of Checks explains what the program will do. Feeds and speeds still have to suit the machine: here the end mill runs at 180 in/min and 10,000 RPM, inside this machine's limits and the chip-load range for maple.
-
Simulate
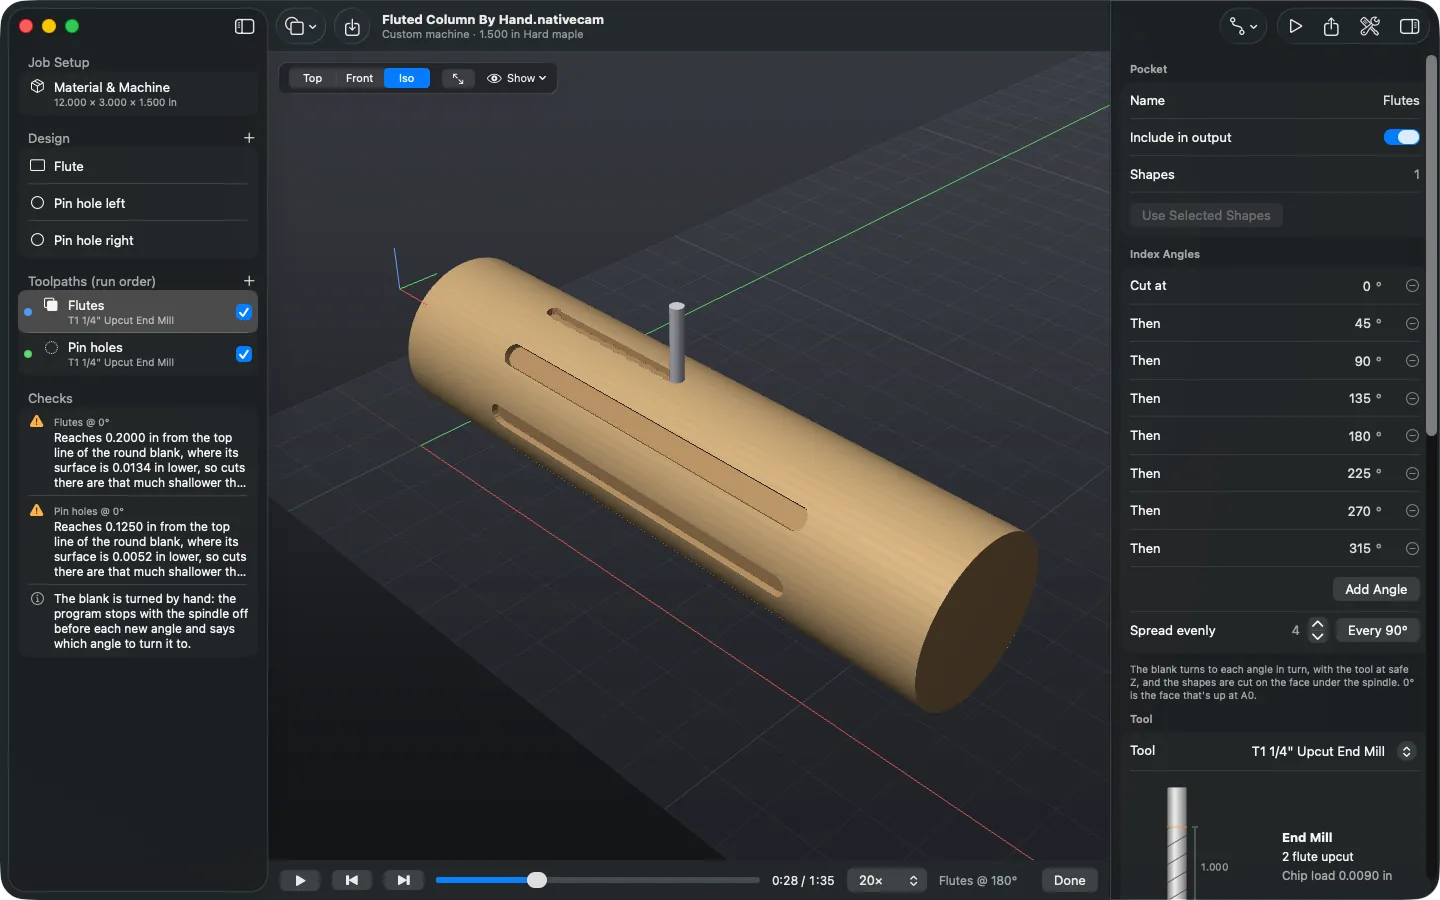
Press ⌘R. The simulation turns the blank to each angle with the tool at safe Z, just as you will.
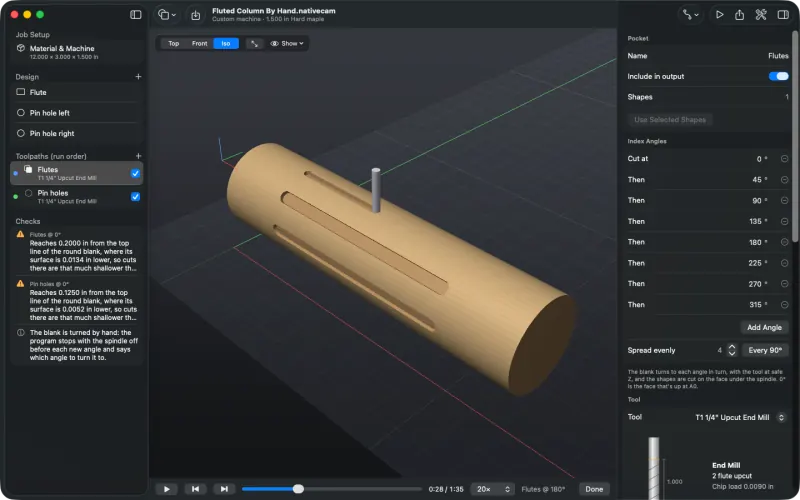
Part way through: three of the eight flutes are cut. -
Export
Press ⌘E. Before each new angle the file lifts to safe Z, stops the spindle and pauses with
M0, after a comment naming the angle. Every file starts with a pause that asks for its first angle, so a job split into one file per tool never assumes where the last file left the blank. The start of this job's.ncfile:(TURN THE BLANK BY HAND AT EACH STOP {M0}) (Angles count up as the top of the blank rolls toward -Y) ... T1 M6 (Turn the blank to 0deg, then resume) M0 (Set router speed dial to about 10000 RPM) S10000 M3 (Flutes @ 0deg T1) ... G0 Z50.800 M5 (Turn the blank to 45deg, then resume) M0The export checks refuse a pause for a turn with the spindle running or the tool below safe Z, and check that every cut happens at the angle the last pause asked for. Each turn by hand counts as 30 seconds in the run-time estimate. The setup sheet lists every stop in the run order: here's the setup sheet for this job.
-
At the machine
At each stop, turn the blank to the angle in the comment just before the
M0(the setup sheet lists them in order too) and lock the indexer. Then press Cycle Start, or Resume in your sender: the spindle starts again and the job carries on. On a router with a speed dial, set it to the speed the comment gives.